Key points at a glance
- Daylight from the side is your most important tool: shoot by the window, without flash and without the yellow ceiling lights.
- The angle follows the dish: flat plates and bowls from above, burgers, cakes and glasses from the front or at a slant.
- Plan photo series in one consistent style instead of random single shots. That way your website, Google profile and Instagram look like they belong together.
- Image size, file name and alt text help decide whether your website loads fast and whether Google understands your pictures.
- You may use photos by professional photographers only within the agreed scope, and show recognizable people only with their consent.
This post is general information and does not replace legal or tax advice. Rules change and some differ between federal states: check the details with your chamber of commerce (WKO) or IHK, the competent authority or your tax adviser.
Why your own photos make such a difference
A photo answers in one second what a menu needs many lines for: How big is the portion, what does the schnitzel look like, is the place cozy or modern? Guests compare several venues side by side on their phones and often decide by the picture. A dark, blurry photo makes even an excellent dish look careless.
Real photos almost always beat stock photos. Regulars spot immediately when the dish in the picture isn't yours, and new guests feel misled when the plate looks different from what they saw online. The same goes for AI-generated images of food: they may look pretty, but they don't show what actually arrives at the table. Which photos belong on a hospitality website is covered in the guide to restaurant website content.
For the home page and your signature dishes, a professional shoot is still worth it. For everything ongoing, such as daily specials, the seasonal menu, events and posts, good phone photos from your own team are ideal: quick, up to date and authentic.
Light: window instead of flash
Light matters more to a photo than the camera. The best light for food is soft daylight from the side, for example at a window table. It brings out texture, makes sauces glisten and renders colors naturally. Direct midday sun, on the other hand, creates hard shadows and blown-out highlights.
- Pick a window table: place the plate so that the light comes from the side or slightly from behind, never straight from behind you.
- Avoid mixed light: switch off warm ceiling lamps when you shoot by the window. Mixed light turns plates yellowish or bluish.
- No flash: the built-in flash makes food look flat and greasy. Move closer to the window instead.
- Fill in shadows: a sheet of white card, a menu with a light back or a napkin on the shadow side gently brightens dark areas.
- Soften harsh sun: a thin white curtain or baking paper in front of the window diffuses the light.
Angles, plating and backgrounds
Every dish has a side from which it looks best. Ask yourself: What makes it special? For a pizza it's the surface, for a burger the layers, for a cocktail the glass and the color. That decides the angle.
| Angle | Works for | Watch out for |
|---|---|---|
| From above (90 degrees) | Pizza, bowls, salads, breakfast plates, set tables | Hold the phone perfectly level so plates stay round |
| At a slant (about 45 degrees) | Main courses, pasta, schnitzel with sides | This is how guests see the plate while eating, so it feels familiar |
| From the front (eye level) | Burgers, cakes, sandwiches, glasses, cocktails | Keep the background calm and lines straight |
| Close-up and detail | Crust, glaze, foam, latte art | Don't zoom digitally, move closer instead |
When plating for the camera: put a little less on the plate than in service, keep the rims clean and add fresh herbs just before the shot. Sauces and dressings look fresher when they have just been poured. A drop of water or oil makes vegetables shine. Work quickly, because salad wilts, foam collapses and cheese sets.
The background should support the dish, not compete with it. A wooden table, a stone slab, a linen cloth or a table top from your own venue almost always works. Clear salt shakers, phones, bills and cables out of the frame. One or two fitting props such as cutlery, a glass of wine or a hand reaching for the bread tell a story without cluttering the shot.
How to get it right
- Daylight from the side, ceiling lights off
- Calm background made of materials from your venue
- Clean plate, fresh herbs and sauces
- Try several angles and pick the best shot
- Show the dish exactly as it is really served
Better not
- Flash or yellow mixed light in the evening
- Crowded tables with condiment stand, phone and bill
- Zooming digitally instead of moving closer
- Strong filters that distort colors
- Passing off stock or AI images as your own dishes
Setting up your smartphone
Current smartphones take very good photos if you give them a little help. These steps take less than a minute and improve almost every picture:
Clean the lens
In the kitchen the camera lens is often greasy. A cloth is enough, and the image instantly becomes sharper.
Turn on the grid
The grid in the camera settings helps you keep edges straight and place the dish deliberately, for example slightly off center.
Use the main camera
The main camera delivers the best quality. Ultra-wide lenses distort plates, and heavy digital zoom makes images grainy.
Set focus and exposure
Tap the dish so it is in focus, and pull the brightness down a little if white plates are blowing out.
Portrait mode in moderation
A blurred background can look nice, but it often cuts out glasses or plate rims incorrectly. Check the result closely.
Edit gently
A little brightness, contrast and straightening is enough. Stick to natural colors so the plate looks the same in your venue.
Photo series for website, Google and Instagram
Instead of taking a random photo every week, plan series: all dishes of the new seasonal menu in one morning, in the same light, on the same surface, from the same angle. That saves time and creates a consistent look that guests recognize as yours. Shoot every subject in both landscape and portrait right away, so you have the right picture for every channel.
Shot list for a photo shoot in your own venue
- Exterior with entrance and sign, in daylight
- Dining room empty and tidy, once in daylight, once in the evening
- Terrace, beer garden or outdoor seating in season
- Your five to ten most important dishes individually
- Drinks, coffee, desserts and the display case
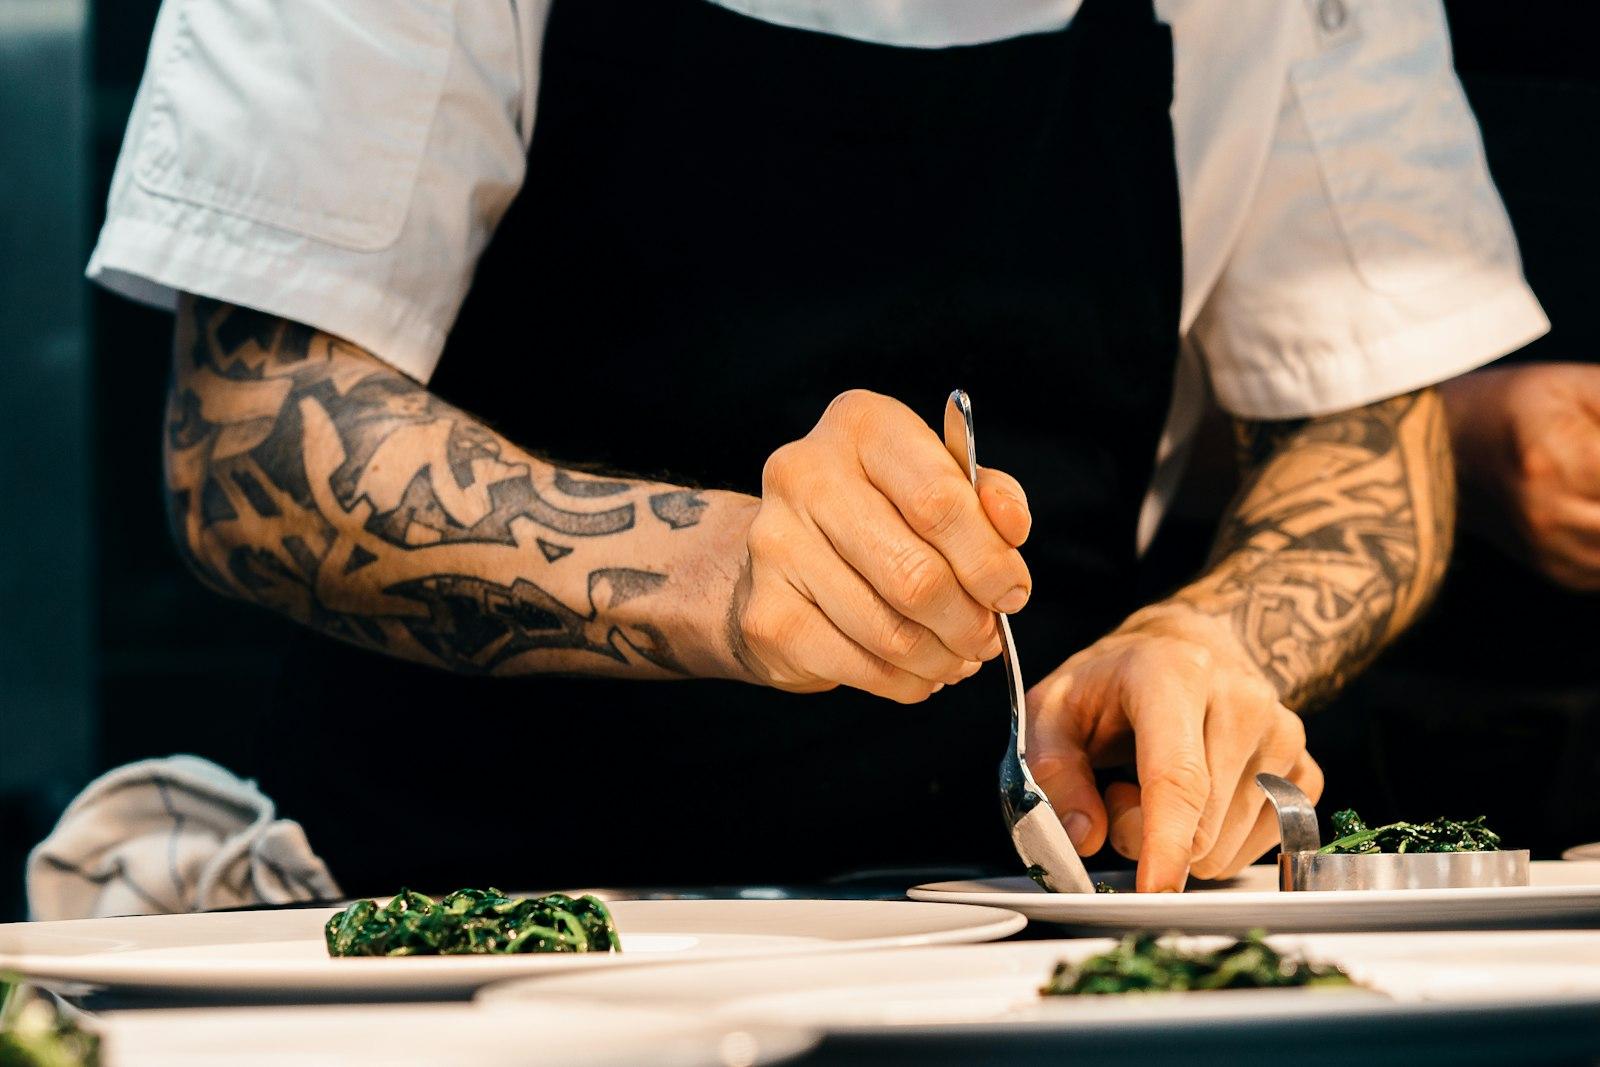
- Details: bread, ingredients, plates being plated
- The team at work, only with consent
- One landscape and one portrait version of each subject
In your Google Business Profile, photos are one of the strongest levers. Upload new pictures of dishes, rooms, the exterior and your team regularly, so that the first impression isn't shaped only by guests' often poorly lit photos. Google itself recommends sharp, well-lit and realistic photos without heavy filters. More on this in the guide to the Google Business Profile. How to use pictures on Instagram is explained in the post on Instagram for restaurants.
Image sizes, file names and alt texts
A phone photo is often several megabytes. That's too much for a website: large images make the page slow on mobile, and impatient guests leave. So resize and compress images before they go online, or use a website that does this automatically. Modern formats such as WebP or AVIF are much smaller than JPG at the same quality. More on speed in the guide to website loading time.
| Channel | Format | Note |
|---|---|---|
| Website, large hero image | Landscape, around 16:9 or 3:2 | About 2,000 pixels wide is enough, well compressed, subject in the center because it gets cropped on mobile |
| Website, menu and gallery | Landscape or square | One consistent format per section looks calmer |
| Google Business Profile | JPG or PNG | According to Google 10 KB to 5 MB, recommended 720 × 720 pixels, at least 250 × 250 pixels |
| Instagram posts | Portrait, around 4:5 | Instagram keeps changing formats and the profile grid, so check the preview in the app |
| Stories and Reels | Portrait 9:16 | Keep key content away from the top and bottom edges, where text and buttons sit |
Give images descriptive file names such as “wiener-schnitzel-potato-salad.jpg” instead of “IMG_4711.jpg”. Google recommends short, descriptive names. Just as important is the alt text: a short description of what the image shows, for example “Wiener schnitzel with potato salad and lingonberries”. It helps people using screen readers and search engines alike. Don't stuff it with keywords, Google tends to treat that as spam.
Image rights: when a photographer takes the pictures
Whoever takes a photo holds rights to it, in Germany as in Austria, even for simple snapshots. If you hire a photographer, the pictures therefore don't automatically belong to you for every purpose. You receive usage rights, and their scope should be agreed in writing. In Germany, if the contract doesn't specify the details, the usage in case of doubt covers only what the shared purpose of the contract requires. If you only ordered photos “for the website”, you may have no rights for posters or ads.
- Channels: website, Google profile, social media, delivery platforms, print (menu, flyers, posters), paid advertising.
- Duration and territory: ideally unlimited in time and place, so you can still use the pictures in a few years.
- Exclusive or not: may the photographer resell the pictures or give them to other venues?
- Editing: may you crop, brighten or add text to the pictures?
- Credit: does the photographer have to be named, and if so, where?
- Passing on: may agencies, web designers or the press use the pictures on your behalf?
Pictures from the internet are off limits too unless you have a license, even if they are freely accessible on another website. With free image libraries, read the license carefully. For detailed contract questions, the Wirtschaftskammer (WKO, the Austrian Economic Chamber) or the IHK (the German Chamber of Commerce and Industry) can help.
Guests and team only with consent
People bring photos to life, but they have a right to their own image. In Germany, under the Kunsturhebergesetz (Art Copyright Act), portraits may generally only be distributed or shown publicly with the consent of the person depicted. In Austria, the Urheberrechtsgesetz (Copyright Act) protects people from having their picture published if this violates their legitimate interests. In both countries the GDPR applies as well, because recognizable people in photos are personal data. In practice this means: get consent before publishing, preferably in writing.
- Guests: ask before taking the photo, explain where it will appear and have them confirm their consent. Anyone recognizable in the background counts too.
- Team: employees must consent as well, voluntarily and separately from their employment contract. Agree on what happens to the pictures when someone leaves.
- Children: you need the parents' consent. When in doubt, don't show children in a recognizable way at all.
- Withdrawal: consent can be withdrawn. Remove the picture from your website and profiles promptly if it is.
- Without faces: hands plating food, backs at the bar or blurred silhouettes look lively without anyone being recognizable.
At events with many guests, a clearly visible notice at the entrance that photos are being taken helps. It does not, however, replace consent for close-ups of individuals that you want to show prominently on your website or in ads.
Your best photos on a fast website
We build your hospitality website so your photos look big and still load fast, with alt texts and the right formats. The preview is free.
A free preview of your venue website, designed by us.